"How do I install and use a font?" is the question we get most. This guide walks through the whole path on Windows: downloading a font from fonter.am, extracting the ZIP, installing the .ttf or .otf files on Windows 11, 10 or 7, and using the font in Microsoft Word, PowerPoint, Photoshop and other apps. Troubleshooting tips are at the relevant steps, where you actually need them.
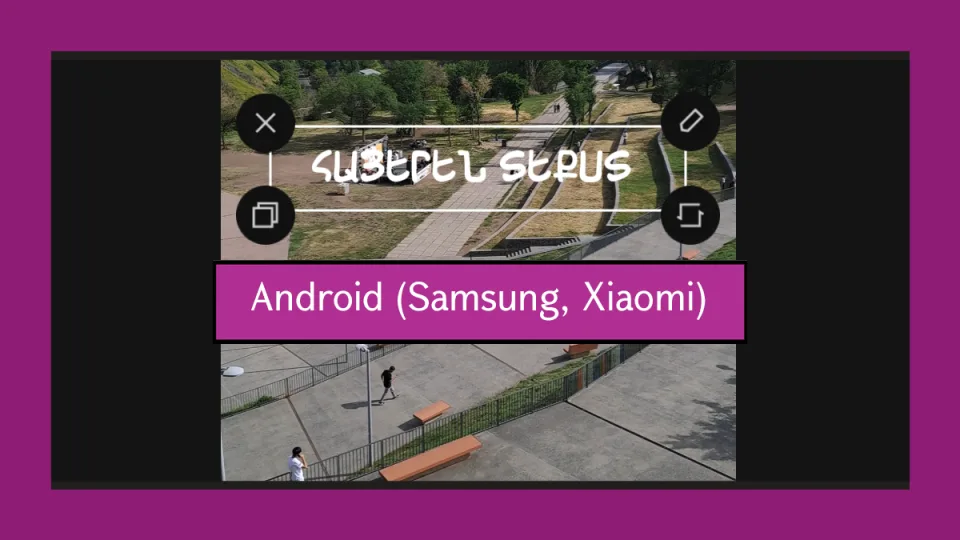
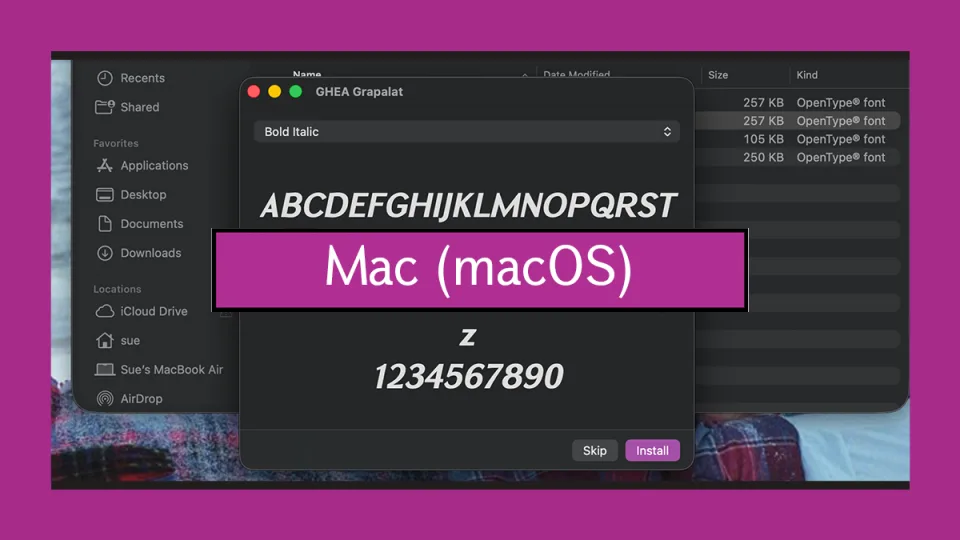
On a Mac, an iPhone or Android? The same guide is here for Mac, iPhone and iPad and Android.
Download the Font and Extract the ZIP
Fonts usually arrive as a ZIP archive. It keeps a whole family together in one small file. A family can hold separate files for Regular, Bold, Italic and other styles, each one its own .ttf or .otf.
- Open the font page on fonter.am.
- Search by name or browse the categories.
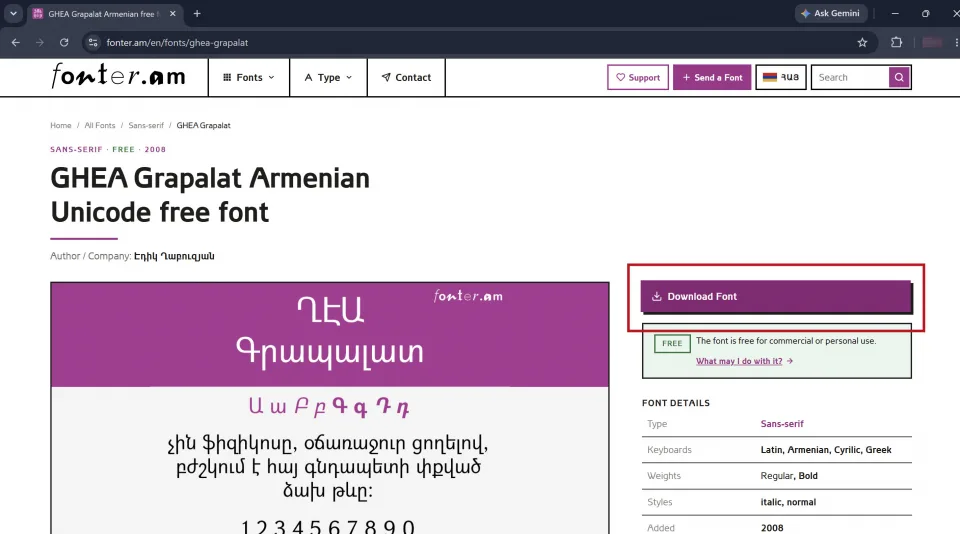
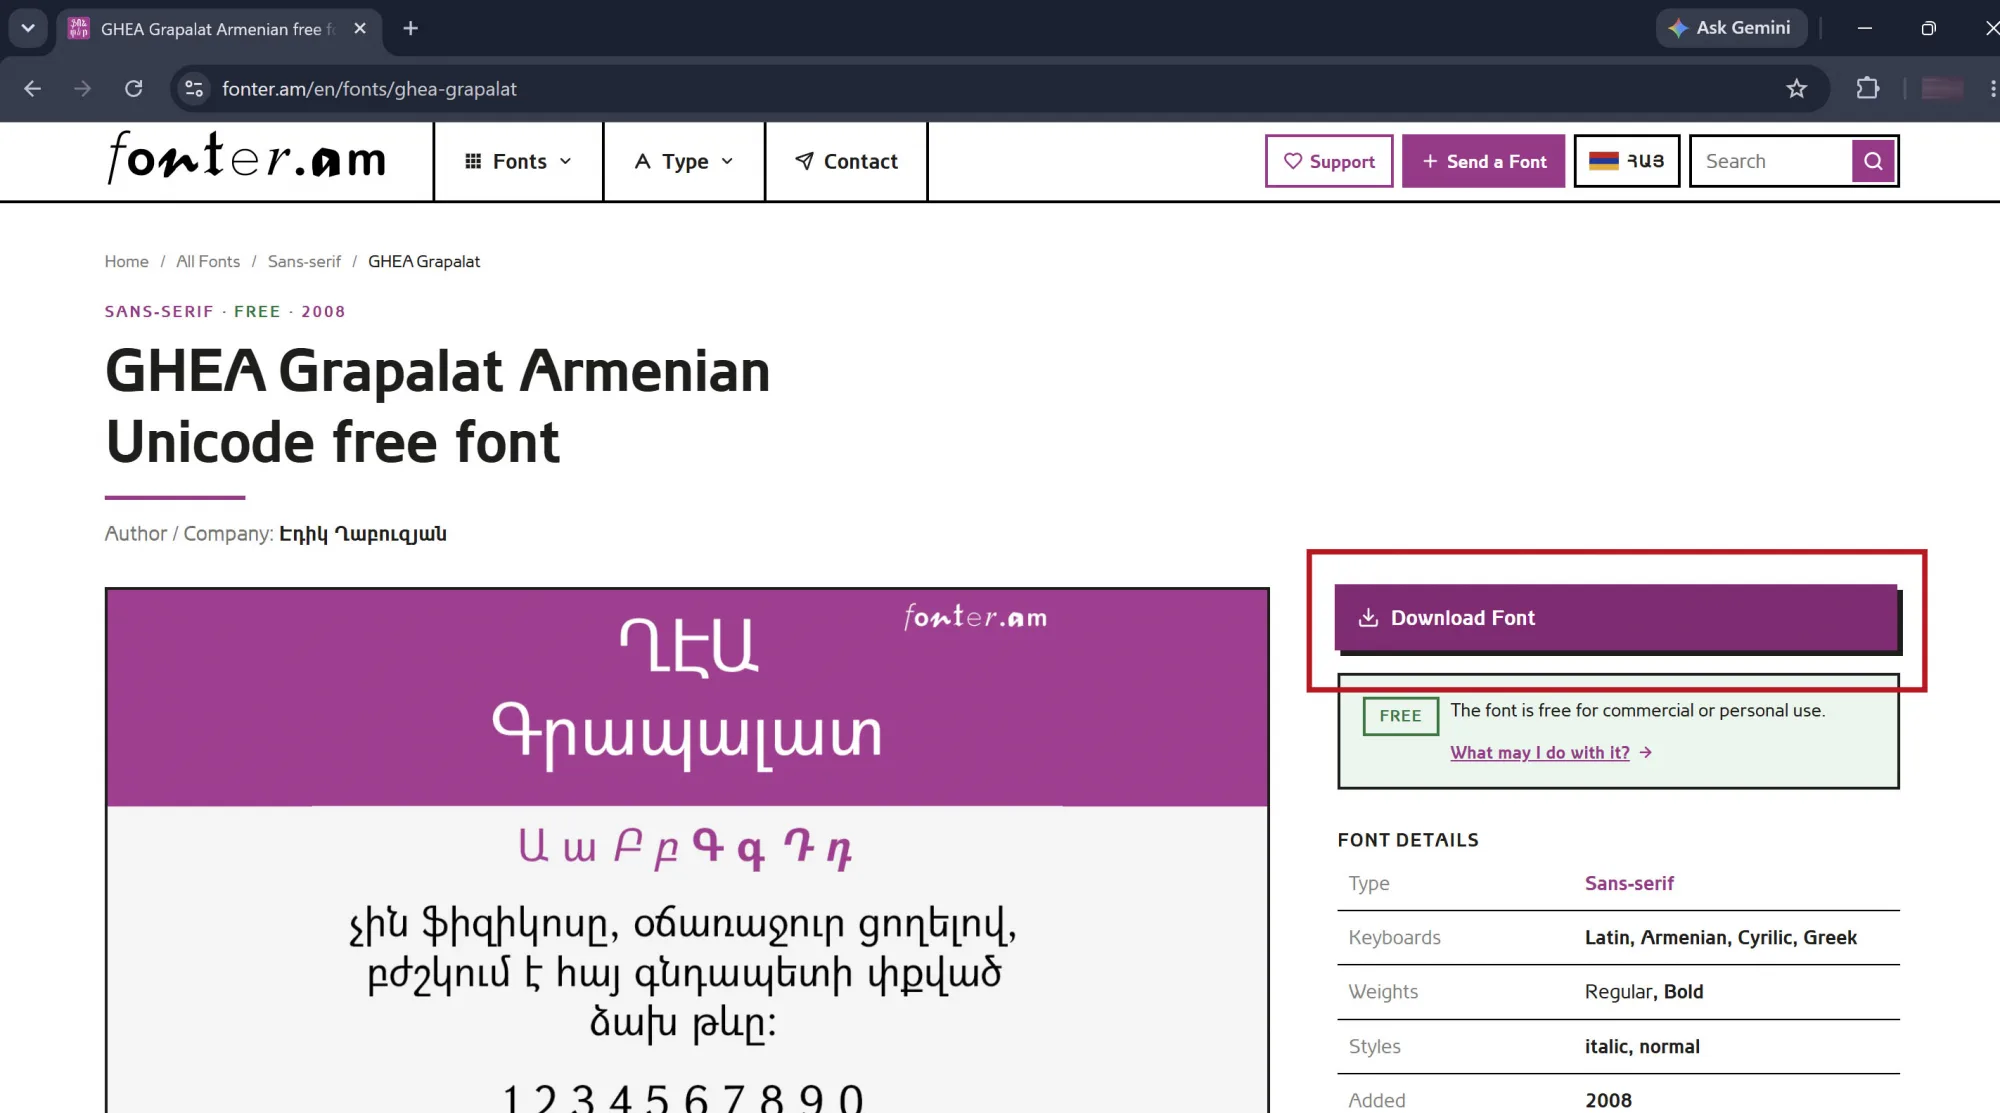
- Every font page has its own download button.
- Click the "Download Font" button.
- The file downloads as a
.ziparchive.
- The file downloads as a
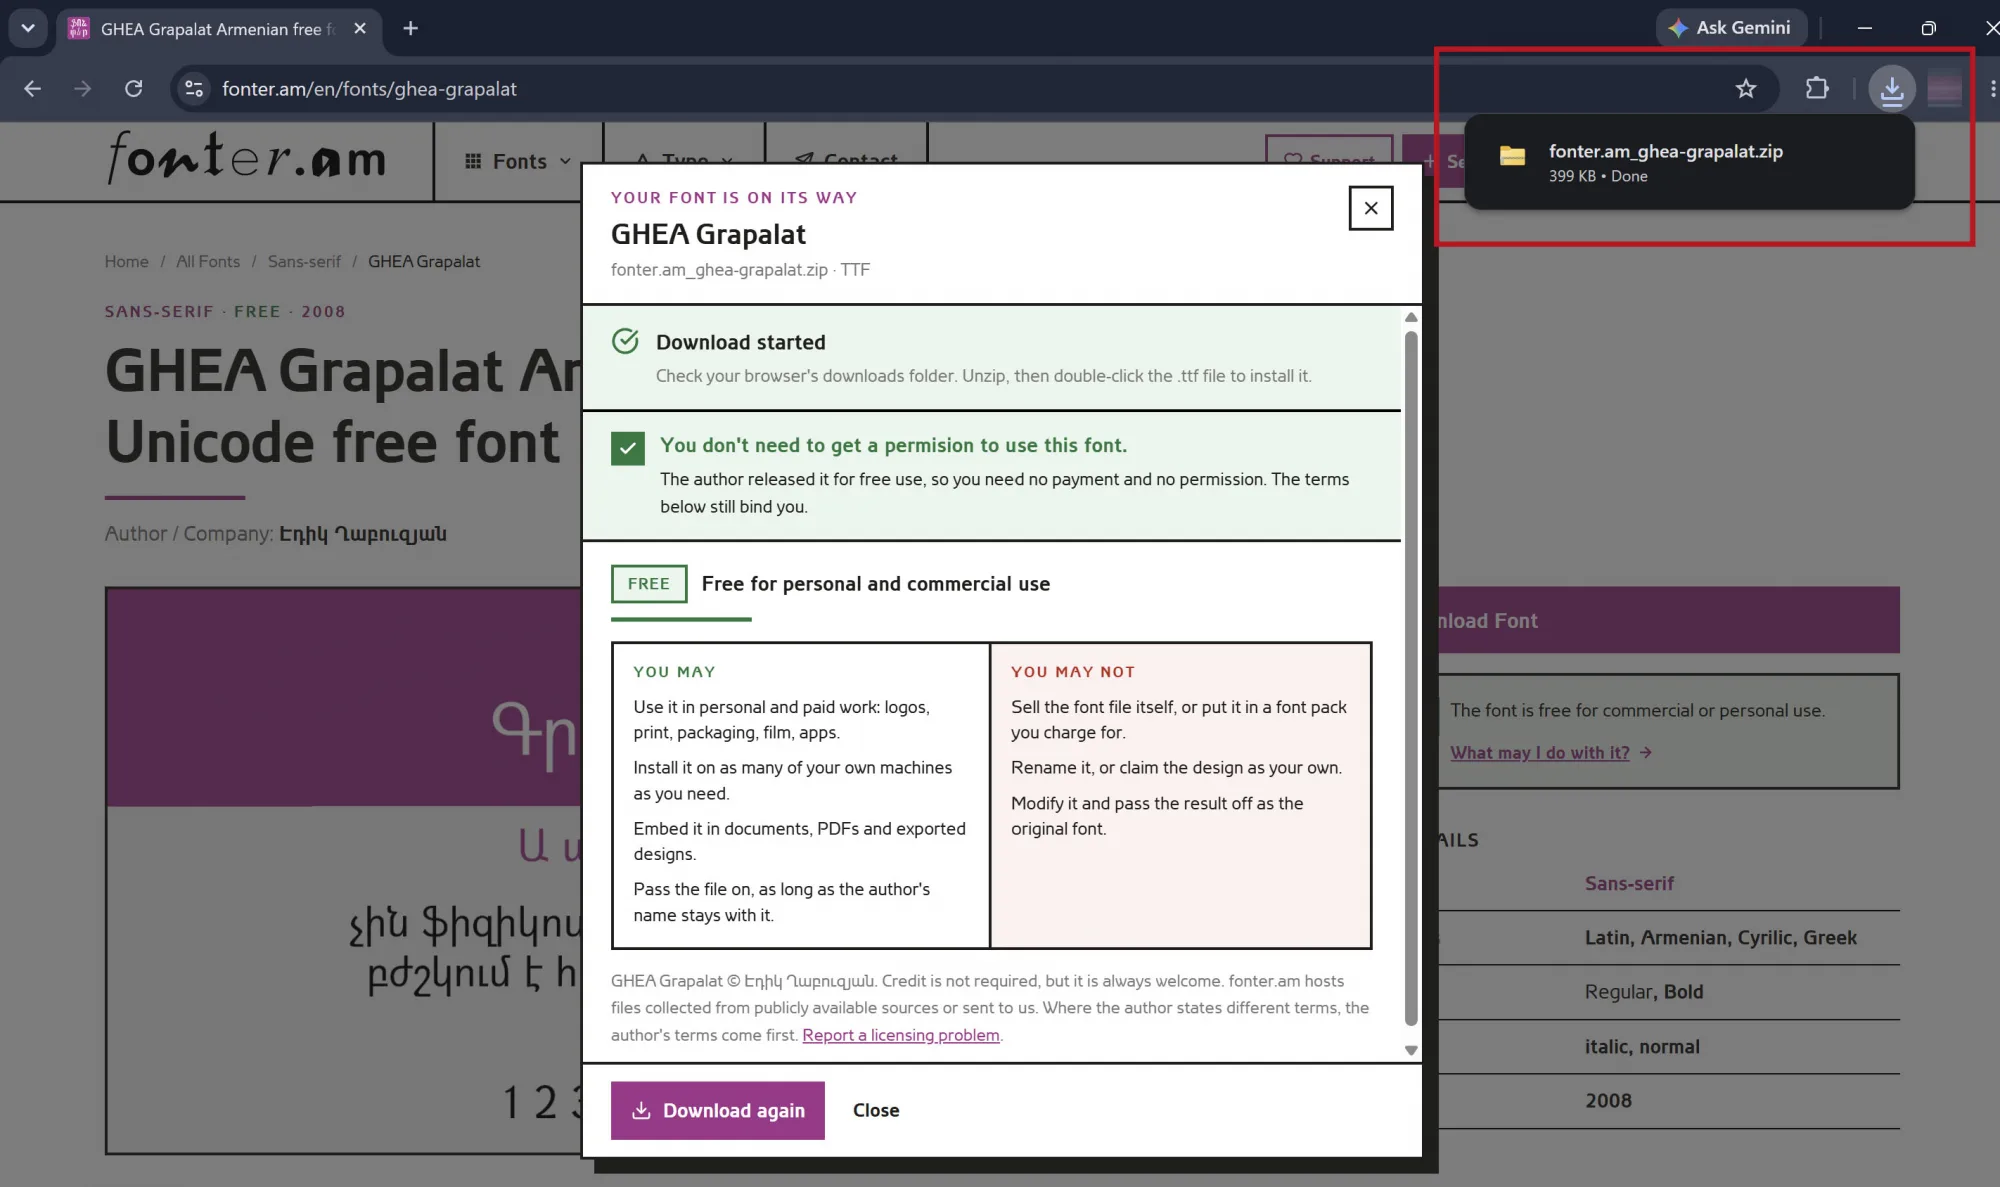
- Find the downloaded ZIP file.

- Browsers save it to your Downloads folder unless you chose another location. It also shows up in the browser's download list.
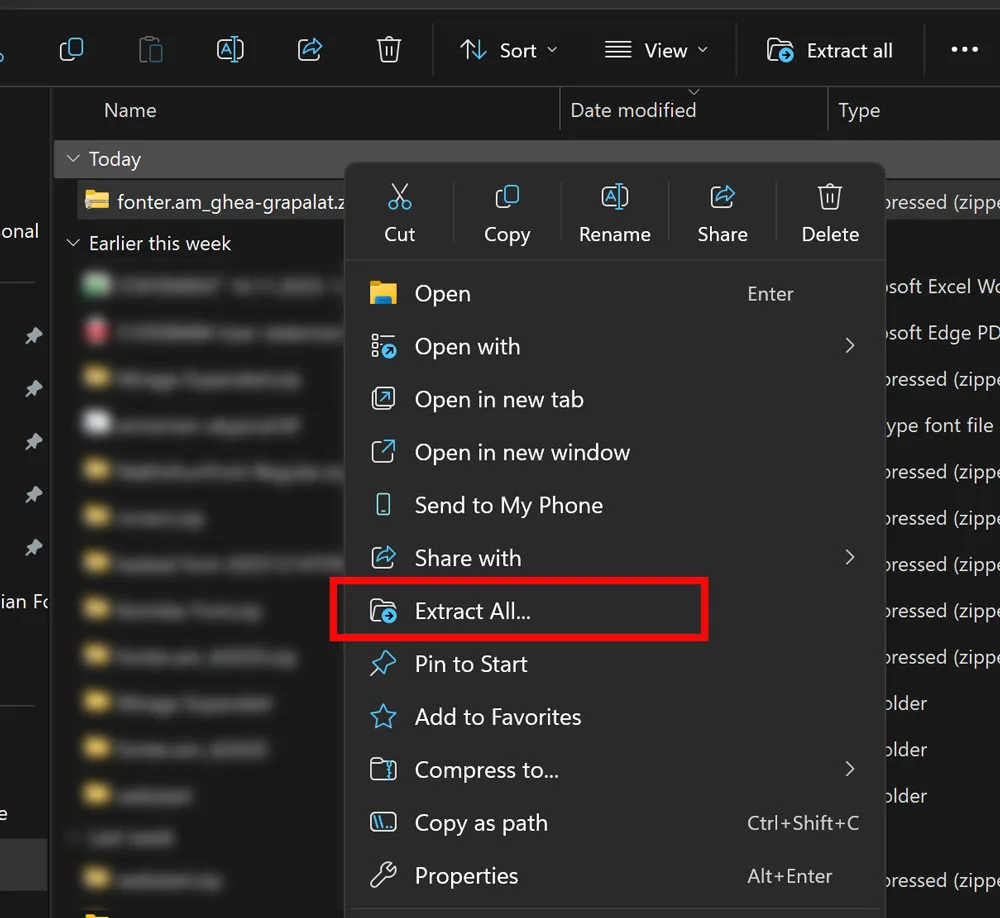
- Extract the archive.
- Right-click the ZIP file and choose Extract All.

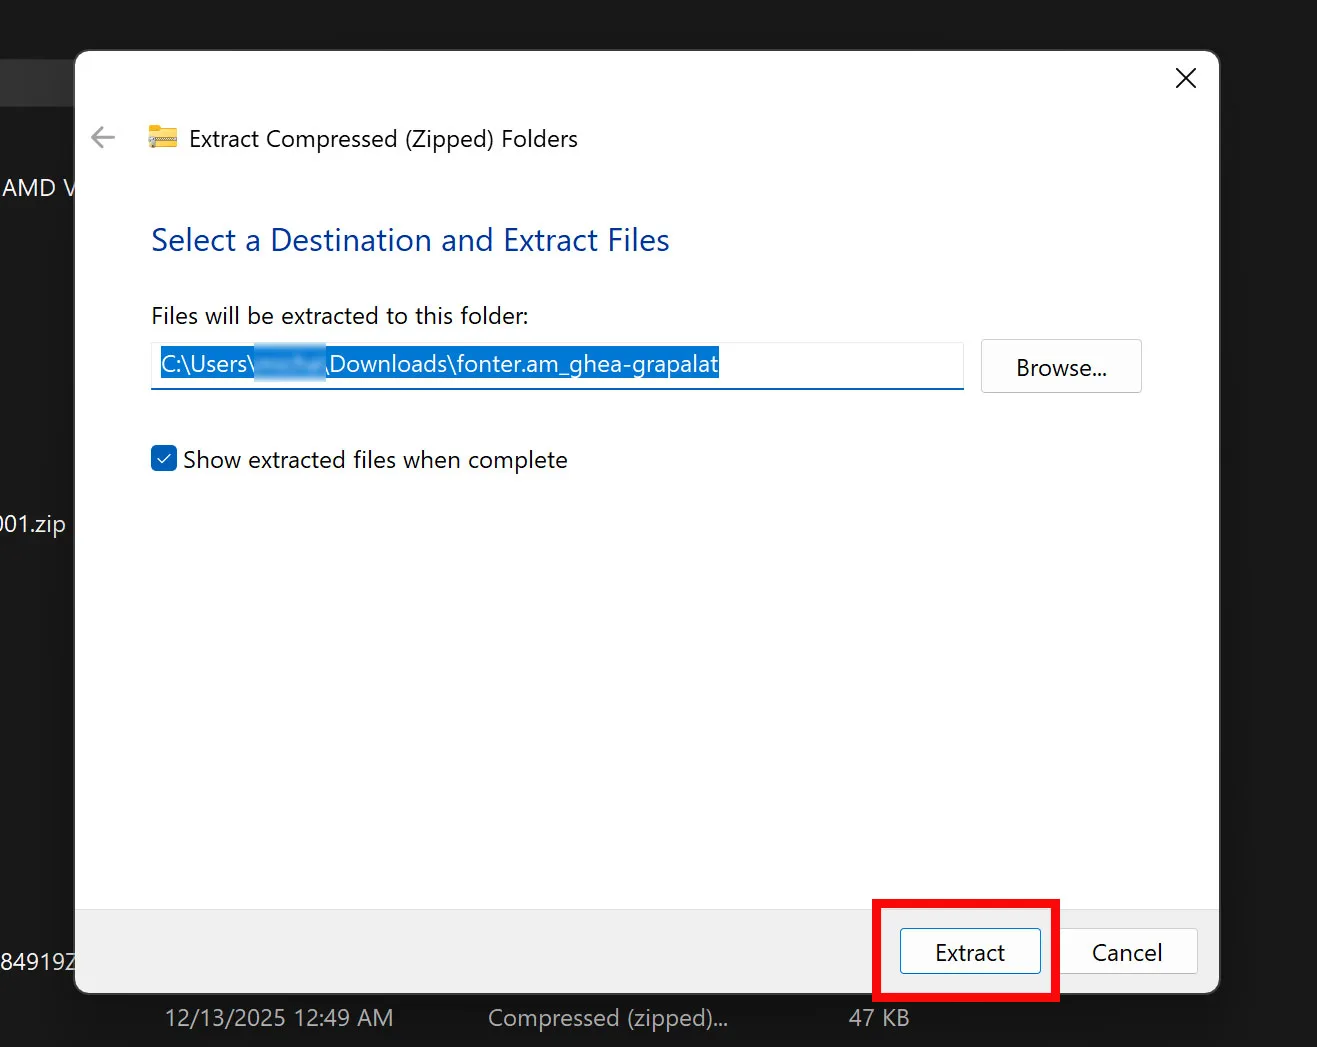
- Confirm the location and click Extract.

- Open the extracted folder and look for files ending in
.ttf(TrueType) or.otf(OpenType).
- Right-click the ZIP file and choose Extract All.
Tip: if the download contains several styles, install all of them. With only the Regular file installed, Windows fakes bold and italic by slanting and thickening letters, and the result looks worse than the real cuts the designer drew.
Install the Font on Windows 11 or 10
Installing registers the font with Windows, and after that it shows up in the font menu of any app that reads the system font list. Three ways to do it, all ending in the same place.
Method 1: right-click Install (fastest)
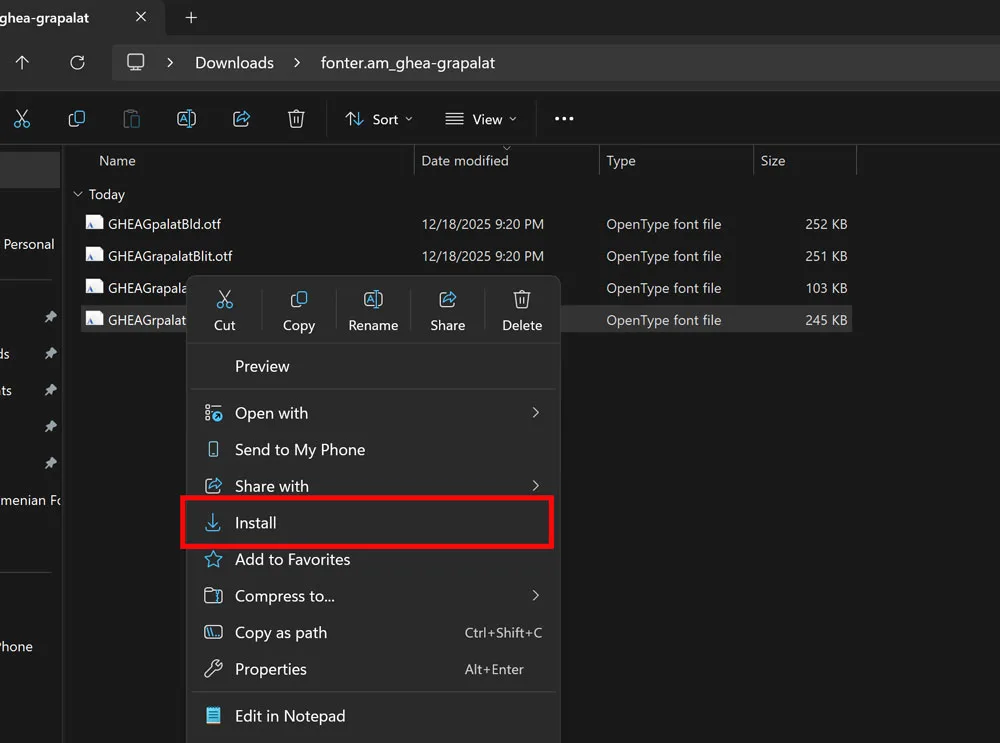
- In the extracted folder, find the
.ttfor.otffile. - Right-click it.
- Click Install.
If you see Install for all users, prefer it. Fonts installed for all users land in the system folder, which some apps detect more reliably, and everyone on a shared PC gets them.
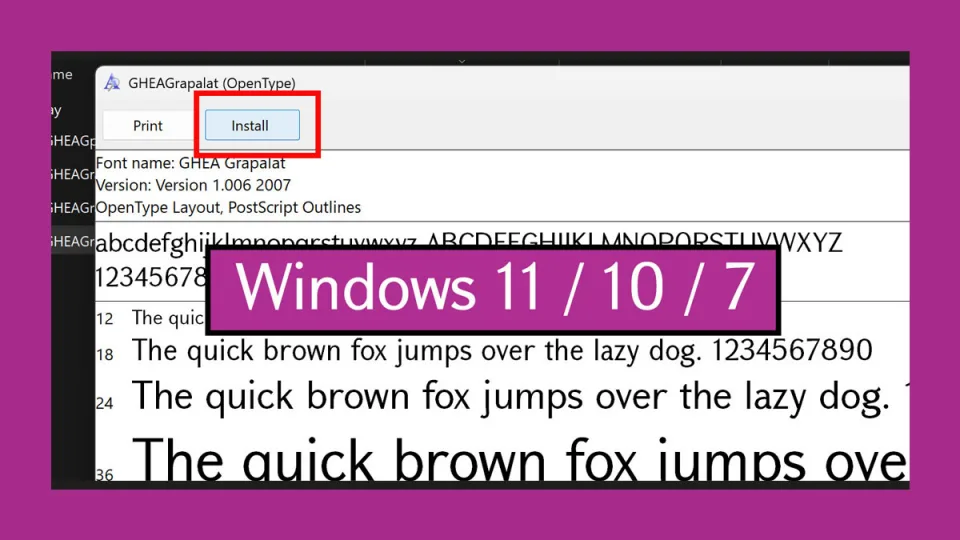
Method 2: double-click and preview first
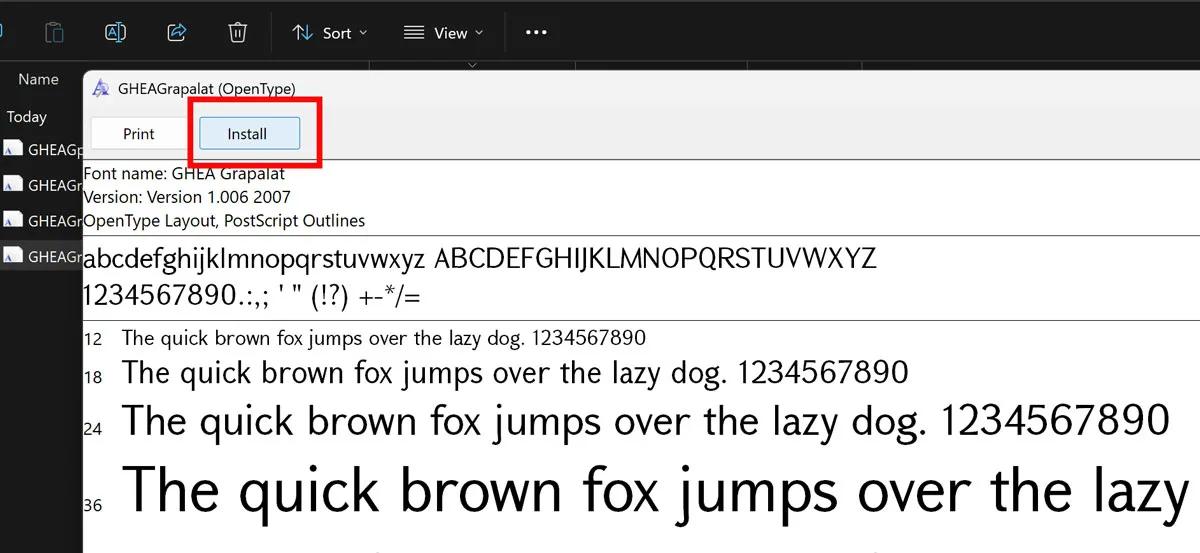
- Double-click the font file.
- A preview window opens showing the alphabet in that font.
- Click Install at the top.
This one is handy when you want to see the letterforms before committing.
Method 3: drag into Settings
- Open Settings.
- Go to Personalization → Fonts.
- Drag the
.ttfor.otffiles onto the drop zone at the top of the page.
Important: apps load the font list at startup. If Word, PowerPoint or Photoshop was open while you installed, close it fully and open it again, or the new font will not appear in the menu.
Install the Font on Windows 7
Windows 7 uses the classic Fonts control panel.
- Open Control Panel → Fonts.
- Drag the
.ttfor.otffiles into the Fonts window. - Approve the permission dialogs if they come up. Admin rights may be required.
Right-clicking a font file and choosing Install works on Windows 7 too, but drag-and-drop into the Fonts window tends to be the more reliable of the two.
Check That the Font Is Installed
- Windows 11 / 10: Settings → Personalization → Fonts, then type the font name into the search box.
- Windows 7: Control Panel → Fonts, then search for the name.
If the font is listed there but missing from an app, the app has simply not refreshed its font list. Restart the app. That solves it in almost every case.
Install Many Fonts at Once
Downloaded a few fonts, or a family with lots of styles? Windows installs them in bulk.
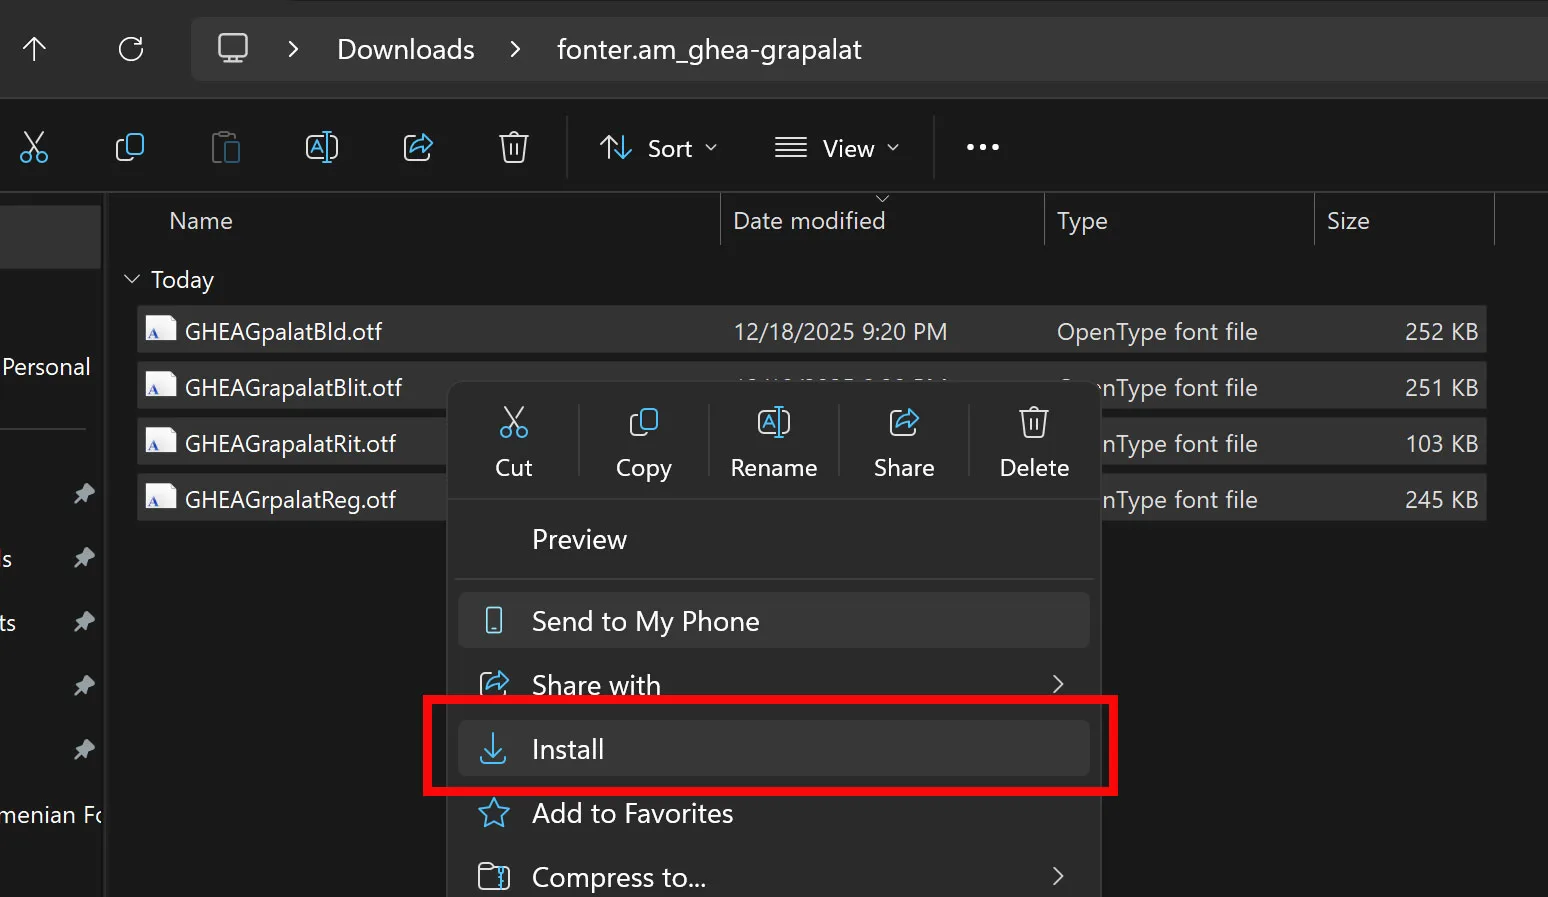
- Select all the
.ttfand.otffiles at once. Ctrl+click picks individual files, Shift+click selects a range, Ctrl+A takes everything in the folder. - Right-click the selection.
- Click Install or Install for all users.
Dragging the whole selection into Settings → Fonts (or the Fonts window on Windows 7) does the same job.
Use the Font in Microsoft Word
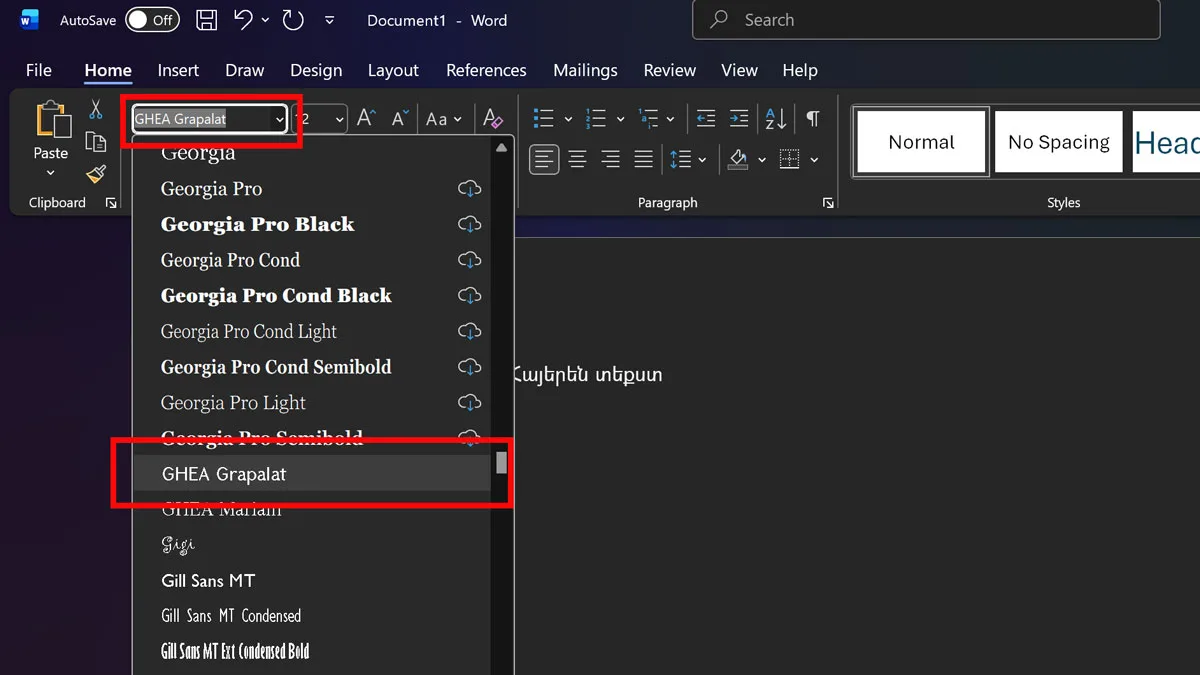
- Open Word and create or open a document.
- Select some text, or just place the cursor where you plan to type.
- Open the Font dropdown and pick your Armenian font. Typing the first letters of its name jumps straight to it.
- Type your Armenian text.
One thing to know before you share the file: Word documents do not carry fonts with them. On a computer without the font, Word substitutes another one and the layout shifts. For anything going outside your own machine, export to PDF, which locks the typography in place.
If You Cannot Type Armenian: Add the Keyboard Layout
A font controls how letters look. What letters you type is decided by the keyboard layout, which is a separate thing. If pressing keys produces Latin text no matter the font, add the Armenian layout:
- Open Settings → Time & language → Language & region.
- Add Armenian as a language, or add the Armenian keyboard under your current language.
- Switch layouts from the taskbar, or with Win + Space (on older setups Alt + Shift).
Windows offers Eastern and Western Armenian layouts along with a phonetic one, where keys match the Latin letters they sound like. Pick whichever matches how you learned to type.
You do not need KDWin or any similar program for this. Windows has had Armenian layouts built in for years, and the copies of KDWin circulating today are repackaged old installers, some of them carrying adware. If you are used to KDWin, or you have documents typed with it, read what KDWin is and why you should not install it.
Use the Font in Adobe Photoshop

Photoshop reads the system font list but only refreshes it at launch.
- Install the font.
- Restart Photoshop if it was open.
- Pick the Type Tool, choose your font in the options bar, and type.
The same applies to Illustrator, InDesign and most other design apps: installed fonts appear after a restart.
Use the Font in PowerPoint

- Open PowerPoint.
- Insert a text box and select it.
- Choose your Armenian font from the font dropdown.
Presentations travel between machines even more than documents do, so the font substitution warning from the Word section applies double here. PowerPoint on Windows can embed fonts into the file: File → Options → Save → Embed fonts in the file. Turn that on, or export the deck to PDF.
The Short Version
- Download the ZIP from the font page.
- Extract it and find the
.ttfor.otffiles. - Select them all, right-click, Install.
- Restart any app that was open, then pick the font from its font menu.
Once installed, the font is available system-wide, in every app that uses standard Windows fonts.